Customizing Your Minecraft World with CrashPanel Markers
Markers require CrashBlock.Introduction
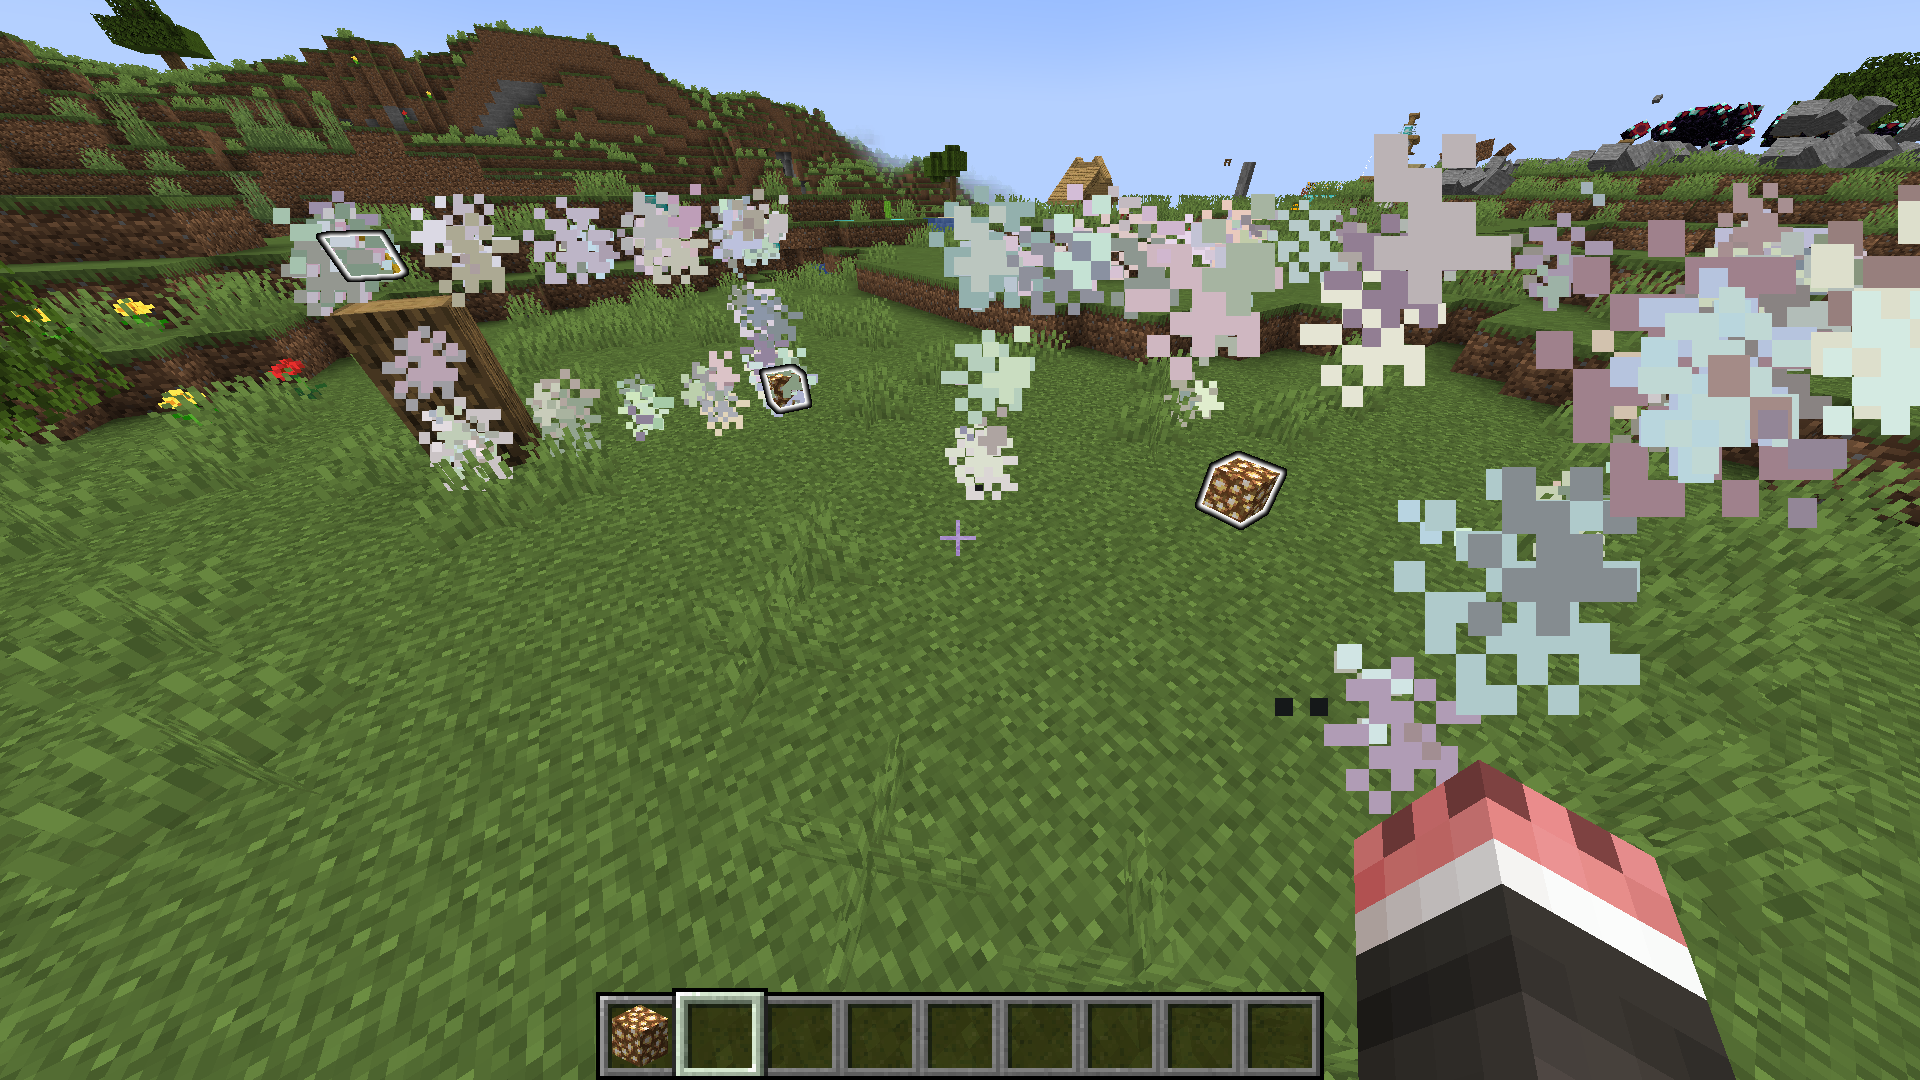
Markers are versatile tools that allow you to define specific areas in your Minecraft world with custom functions.
Creating and Configuring Markers
- Obtaining the Marker Configurator: Run the command /marker configurator
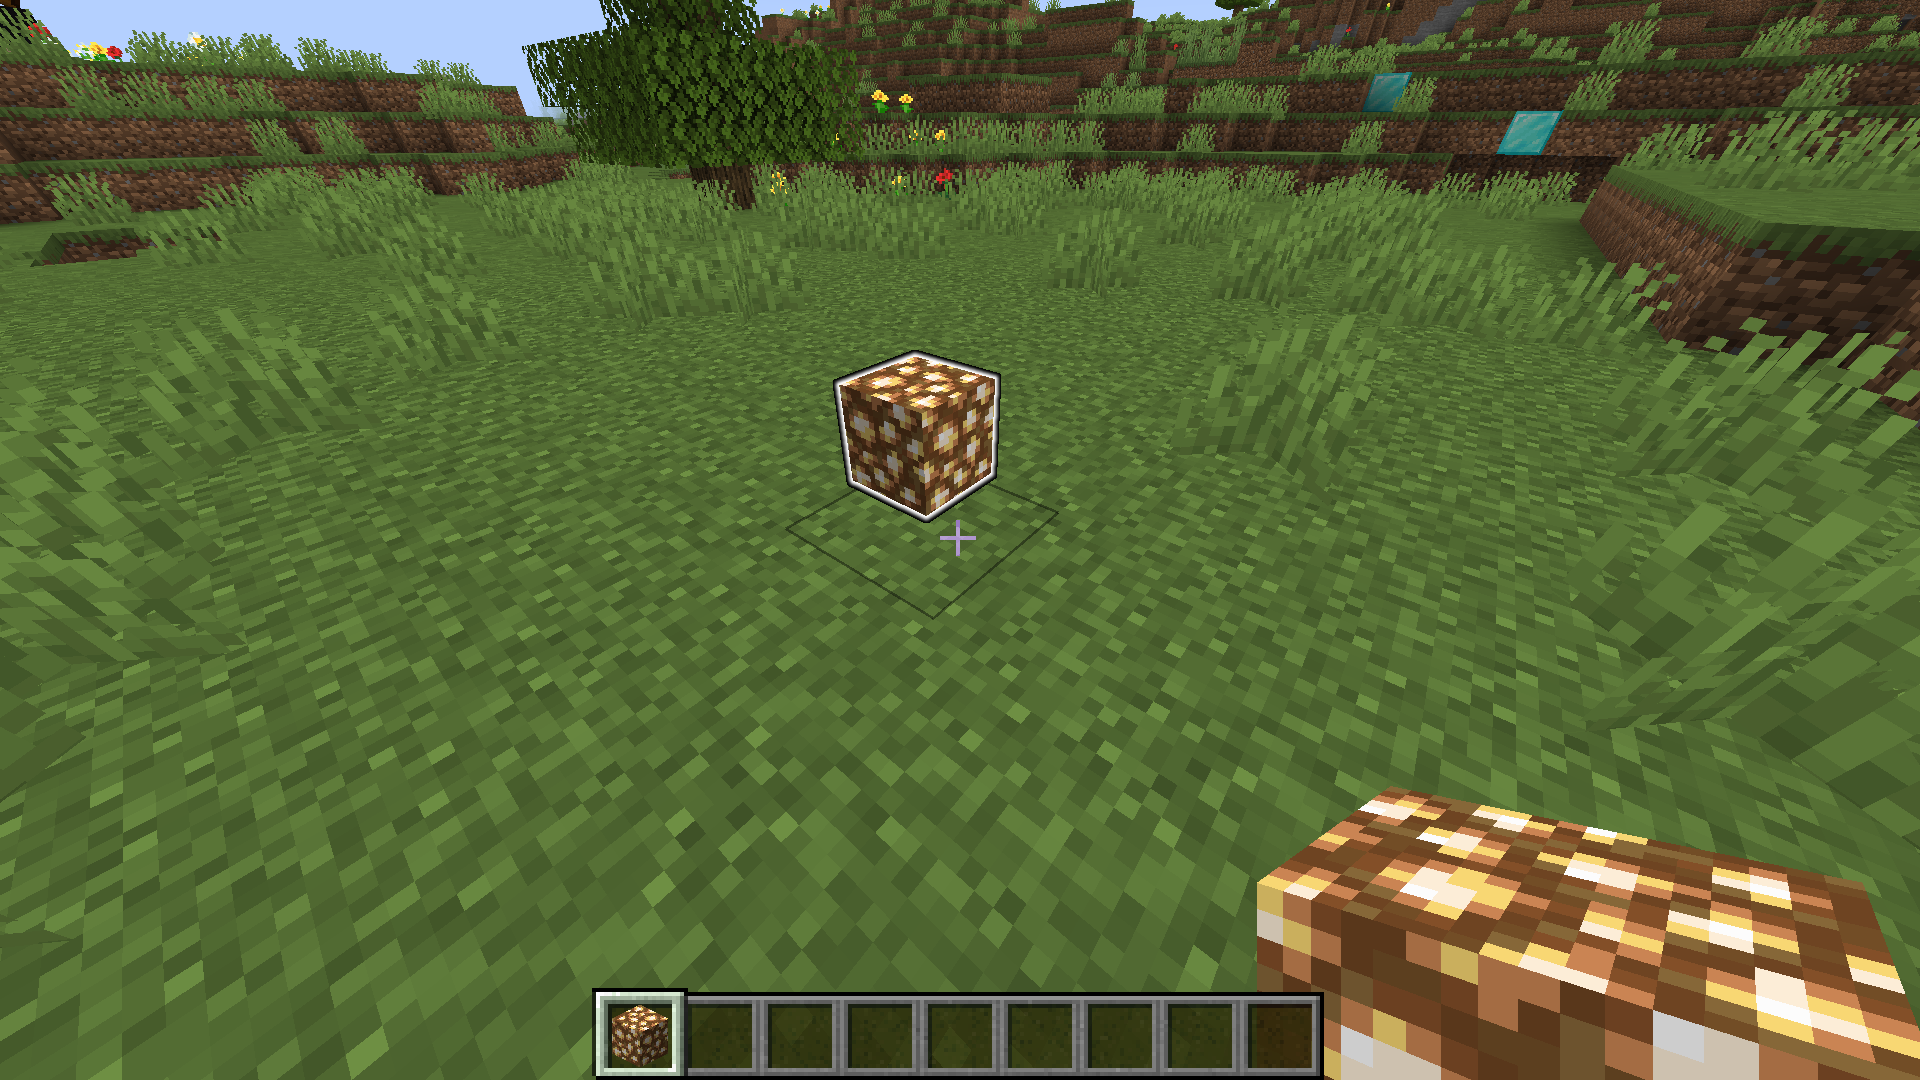
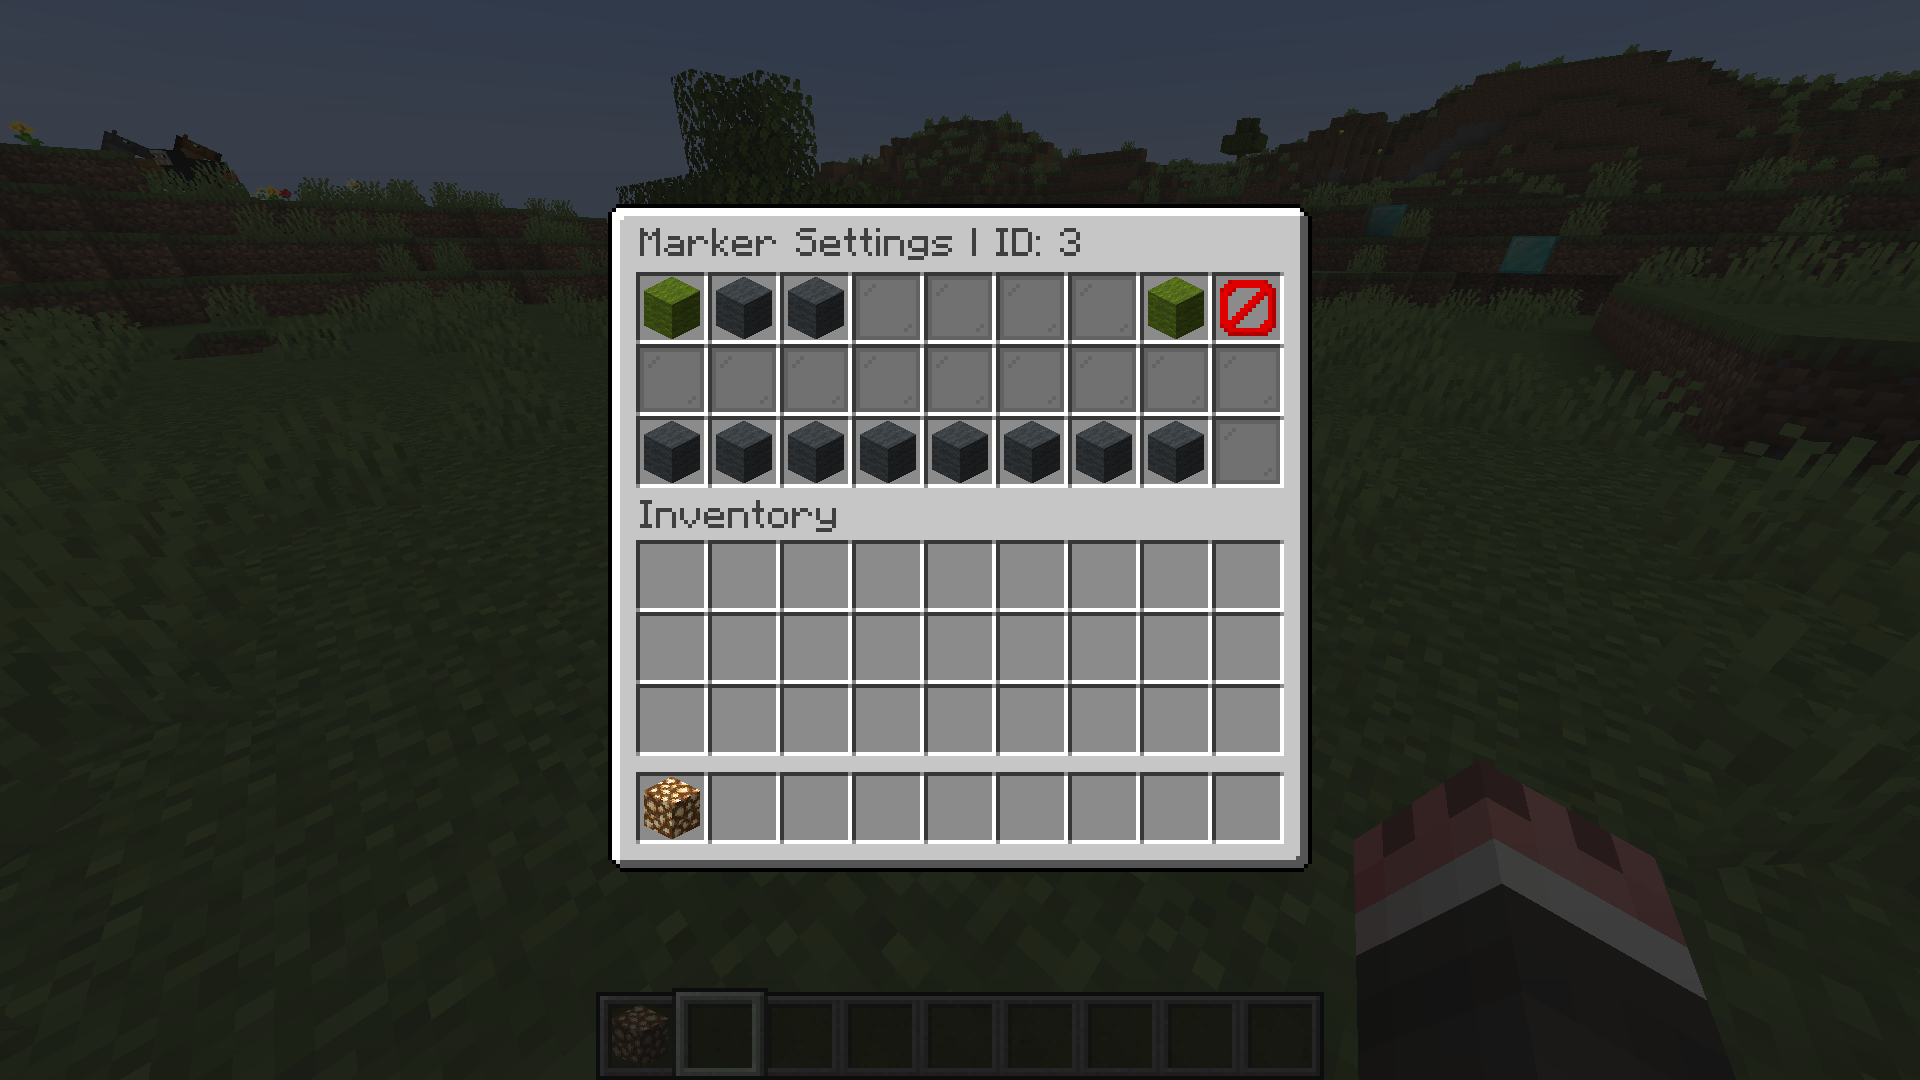
- Placing a marker: Place the marker and right-click to open the configuration panel.
- Configuration:
- Shape: Choose between point, cube, or cuboid.
- Functionality: Set actions like teleportation, opening GUIs, sending messages, spawnpoint, etc.
- Script: Assign a script to the marker for more complex actions.
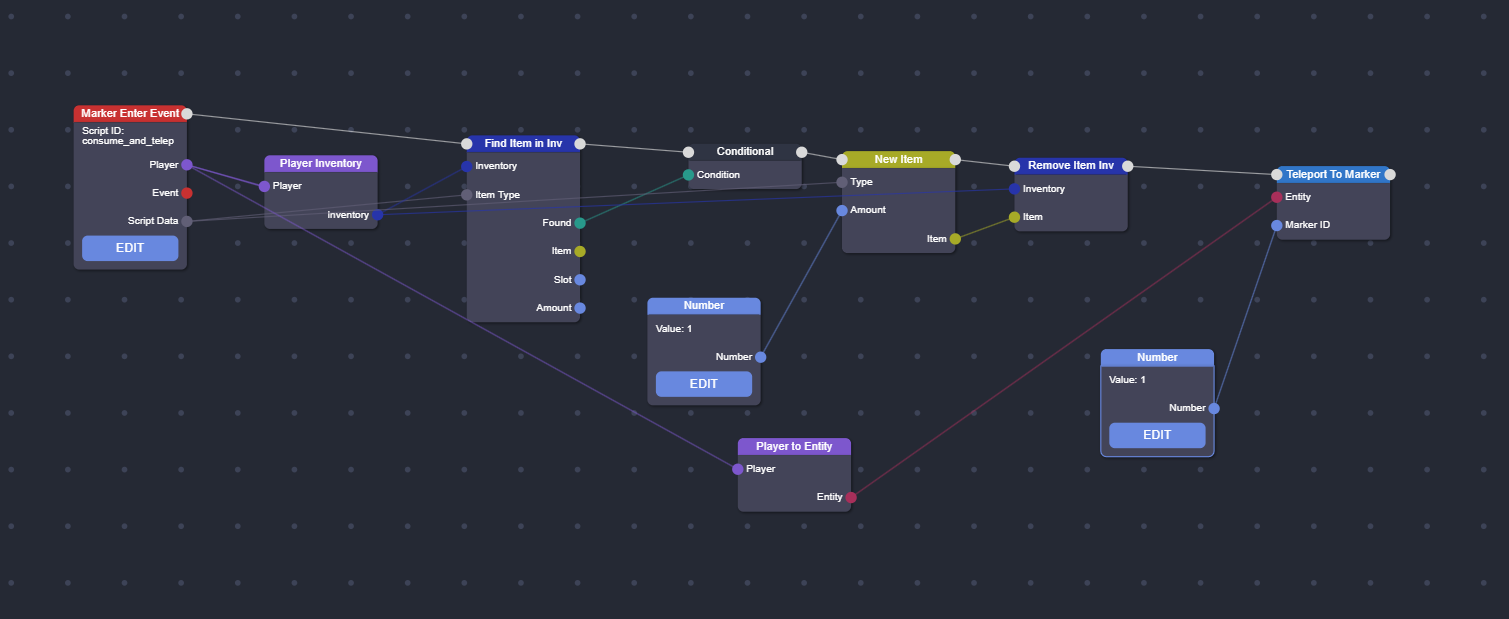
Scripting Markers
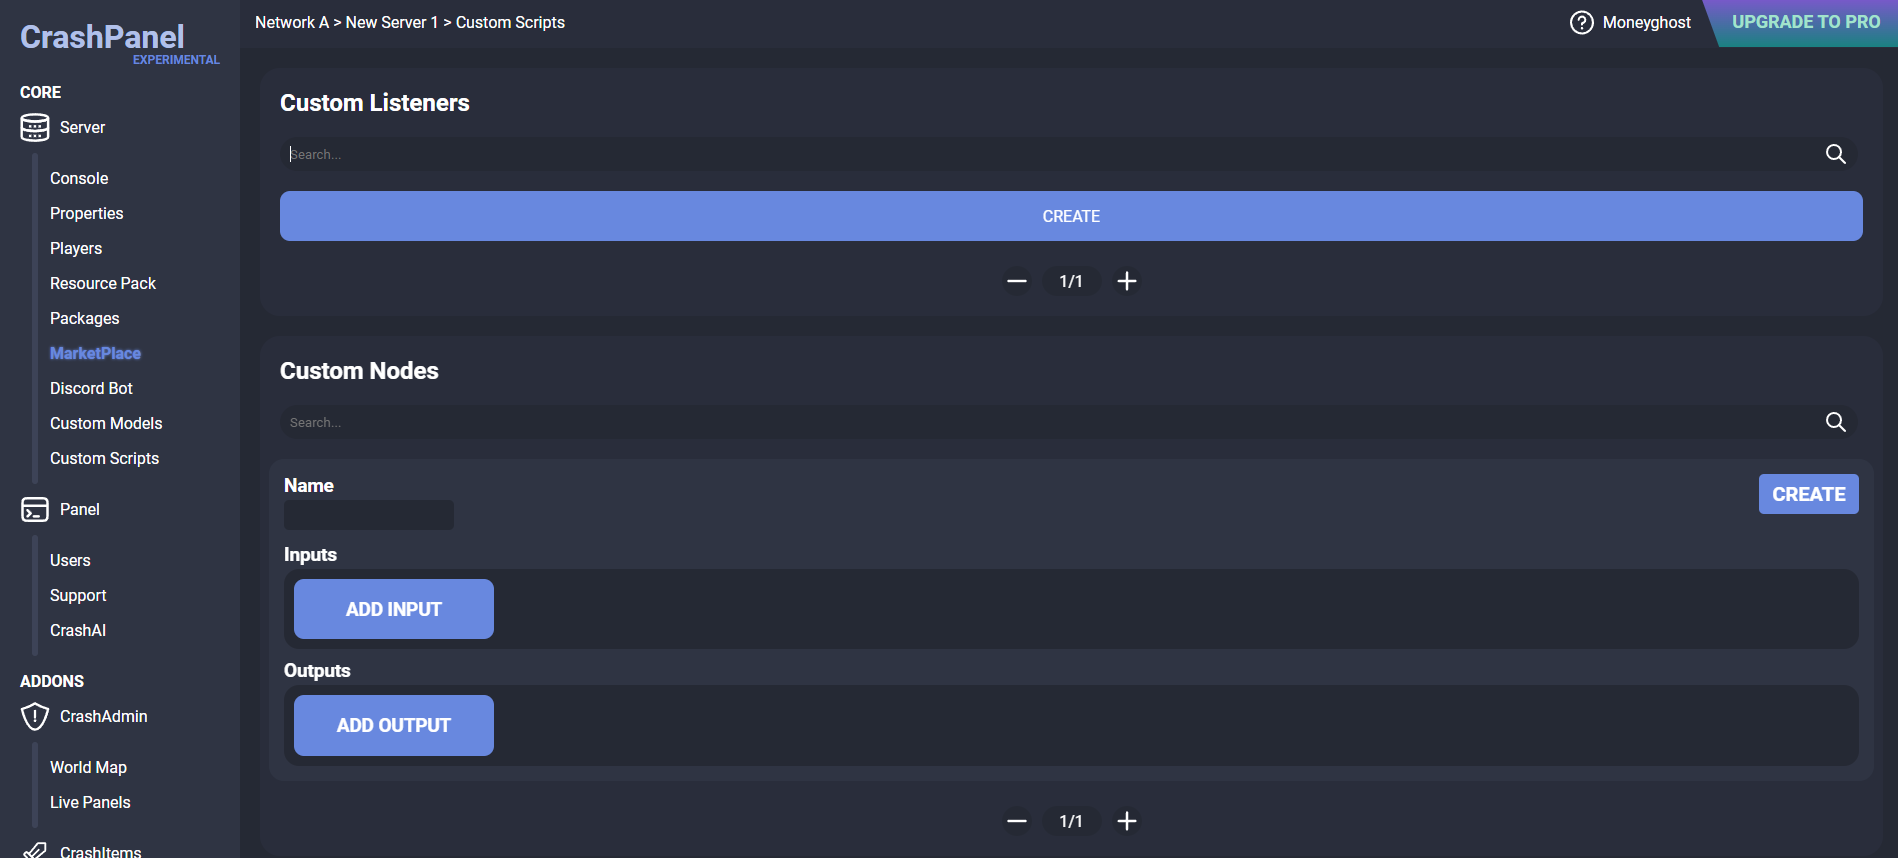
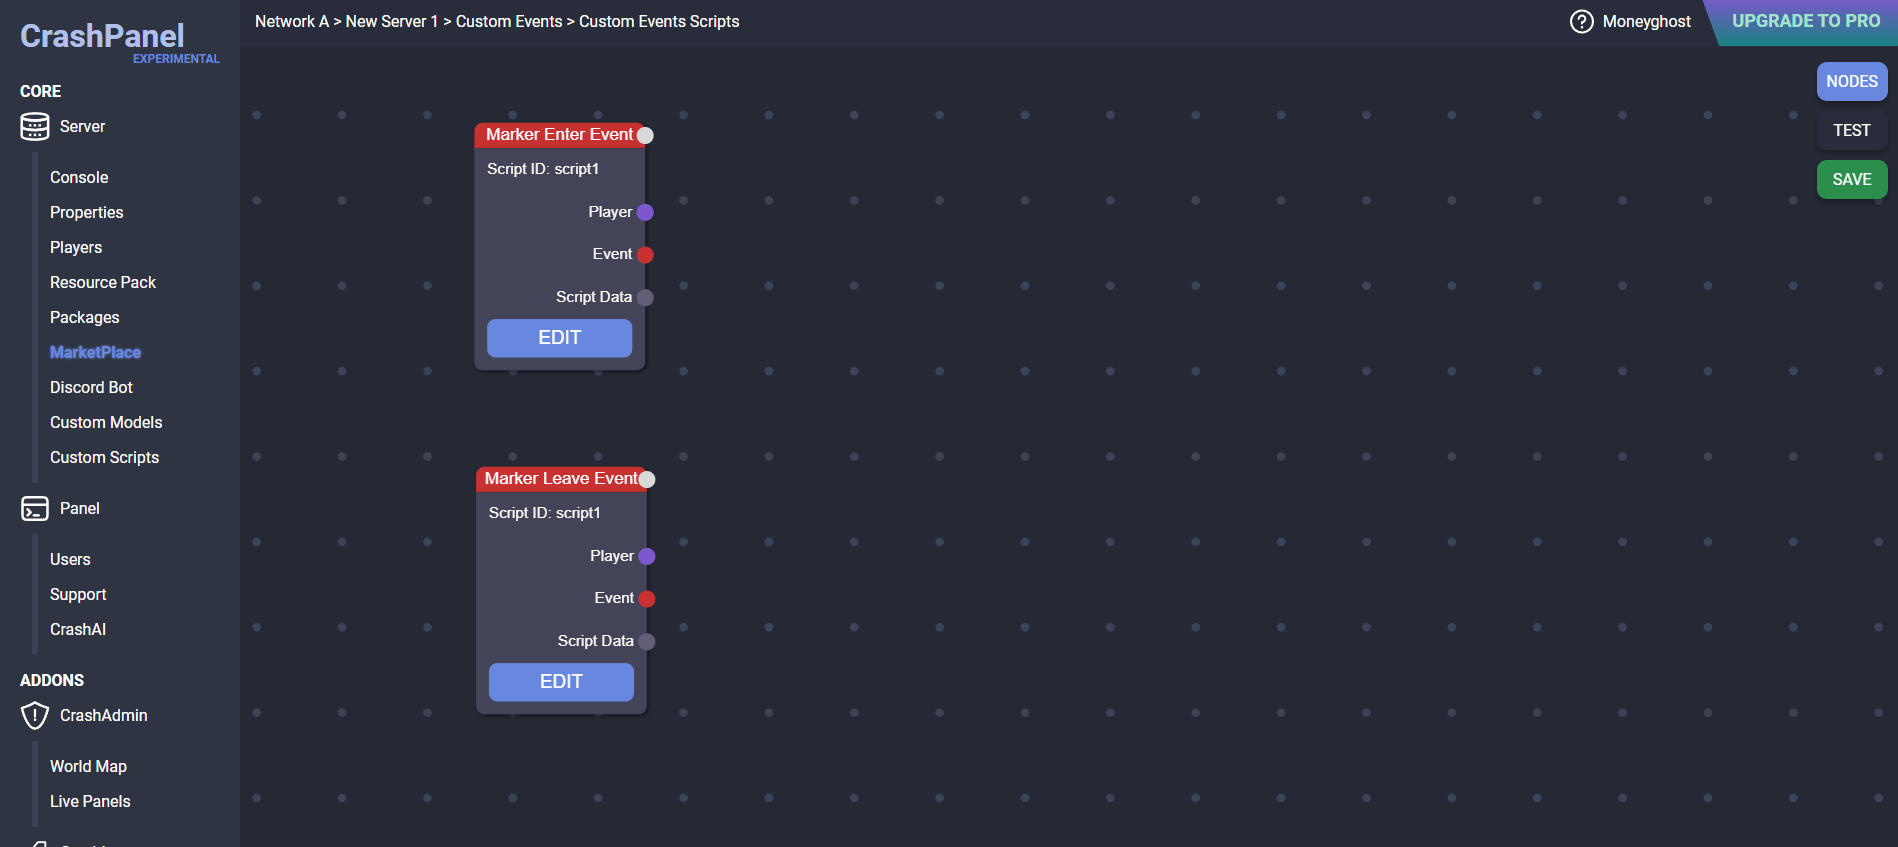
- Creating a script: Go to the Custom Scripts page and create a new listener.
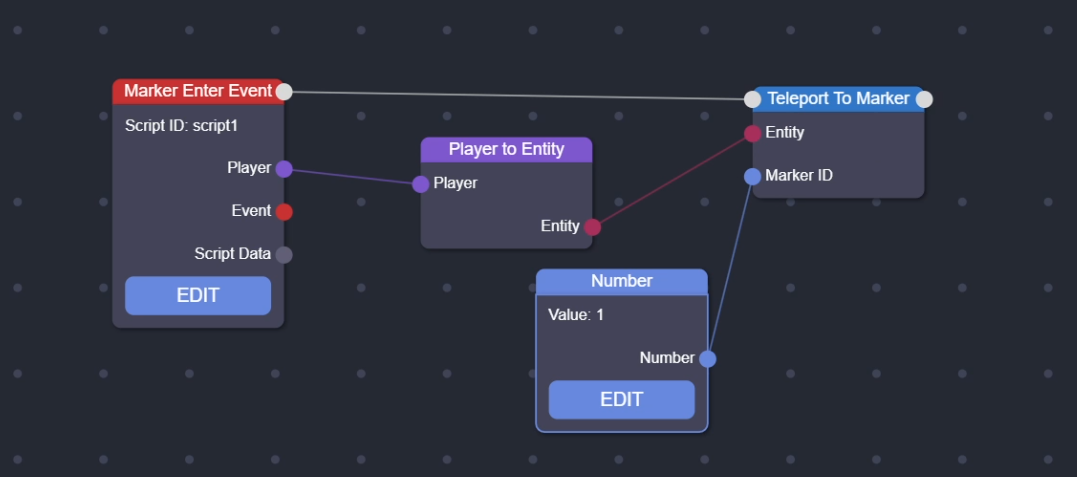
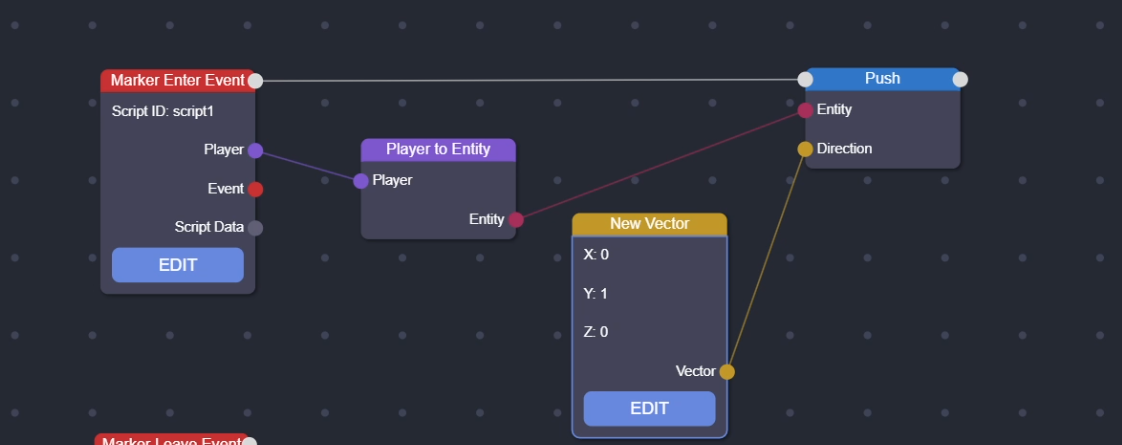
- Using nodes: Use the "Marker Enter Event" and "Marker Leave Event" nodes to define actions to be performed when a player enters or exits an area.
- Script examples:
- Teleporting to another marker
- Launching the player into the air
- Consuming an item and teleporting (the Script Data specify the item to be consumed)
Marker Commands
| Command | Description |
|---|---|
| /marker configurator | Opens the Marker configurator. |
| /marker create | Creates a Marker at the player's location. |
| /marker remove |
Removes the specified Marker. |
| /marker edit |
Opens the panel of the specified Marker. |
| /marker edit | Opens the panel of the Marker at the player's location. |
| /marker hide |
Hides the specified Marker. |
| /marker show |
Shows the specified Marker. |
| /marker list [index] | Shows a list of all Markers in the server. |
| /marker shownear | Shows a list of all nearby Markers. |