Model Editor and Custom Model
Creating a Custom Model
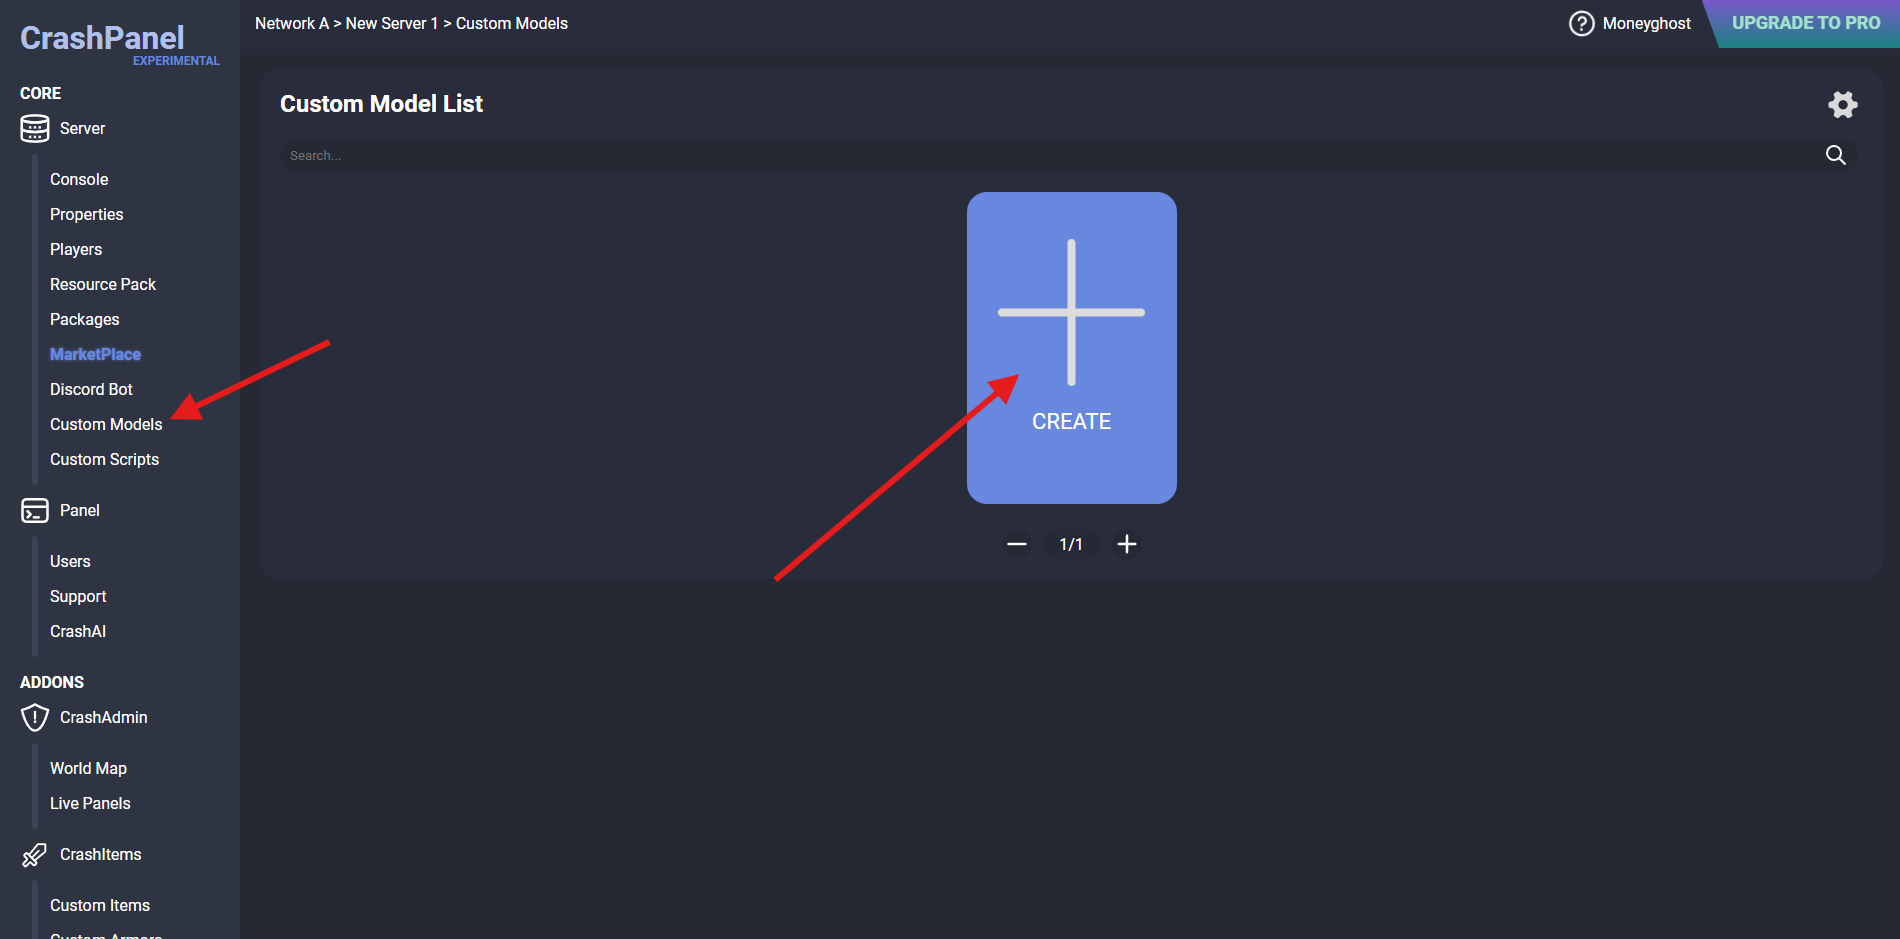
From your server's CrashPanel, click Custom Models (in the Content & Script section) and click CREATE to create a new Custom Model and open its Model Editor.
Before you start modeling, rename the Custom Model right away so you don't confuse it in the list by clicking the button next to the Delete and COPY ID buttons at the top.
Understanding the Model Editor
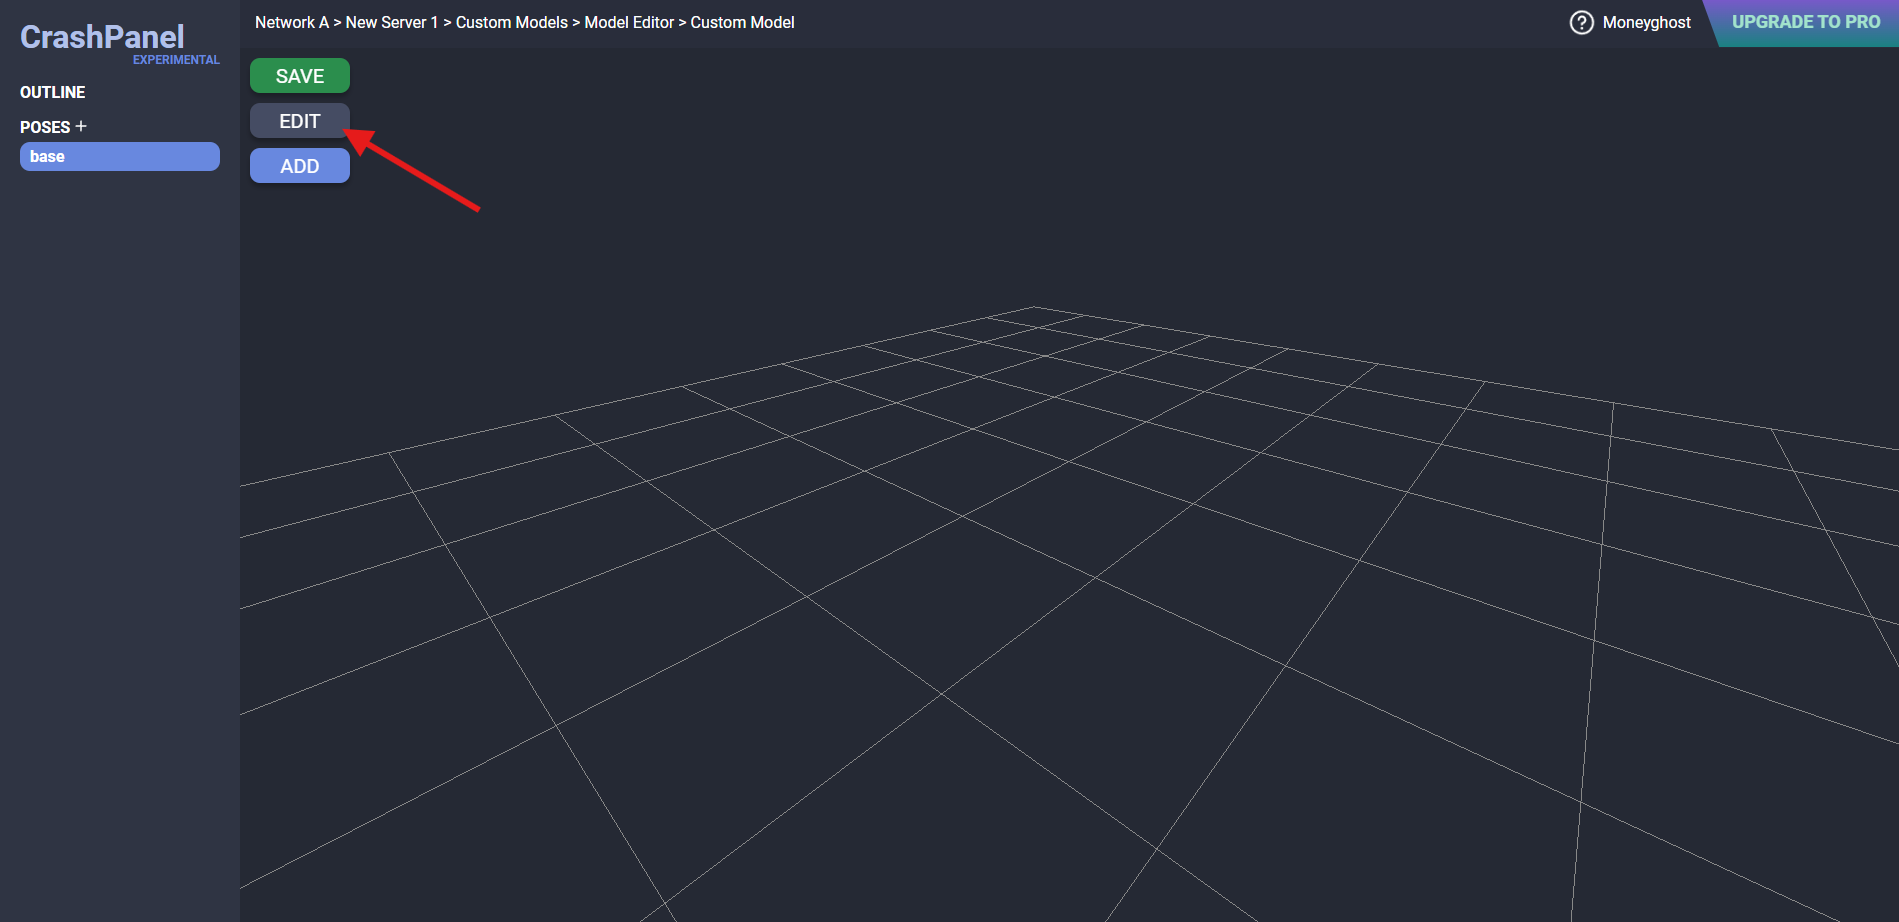
This editor has two main screens. The one shown in this guide is called BASE and is used to define your Custom Model. Then, by clicking on the top right, you can enter the ANIMATE screen, where you can create animations for your Custom Model (shown in the next guide).
In the BASE screen, on the left, you will find the outline and below it the list of models. The Model Editor supports both JSON models (Blocks/Items, Java Edition) and BBMODEL models (Entities, Bedrock Edition), also importing animations.
On the right, you will see the properties of the selected element.
Always remember to save after editing the Custom Model.
Adding an Element
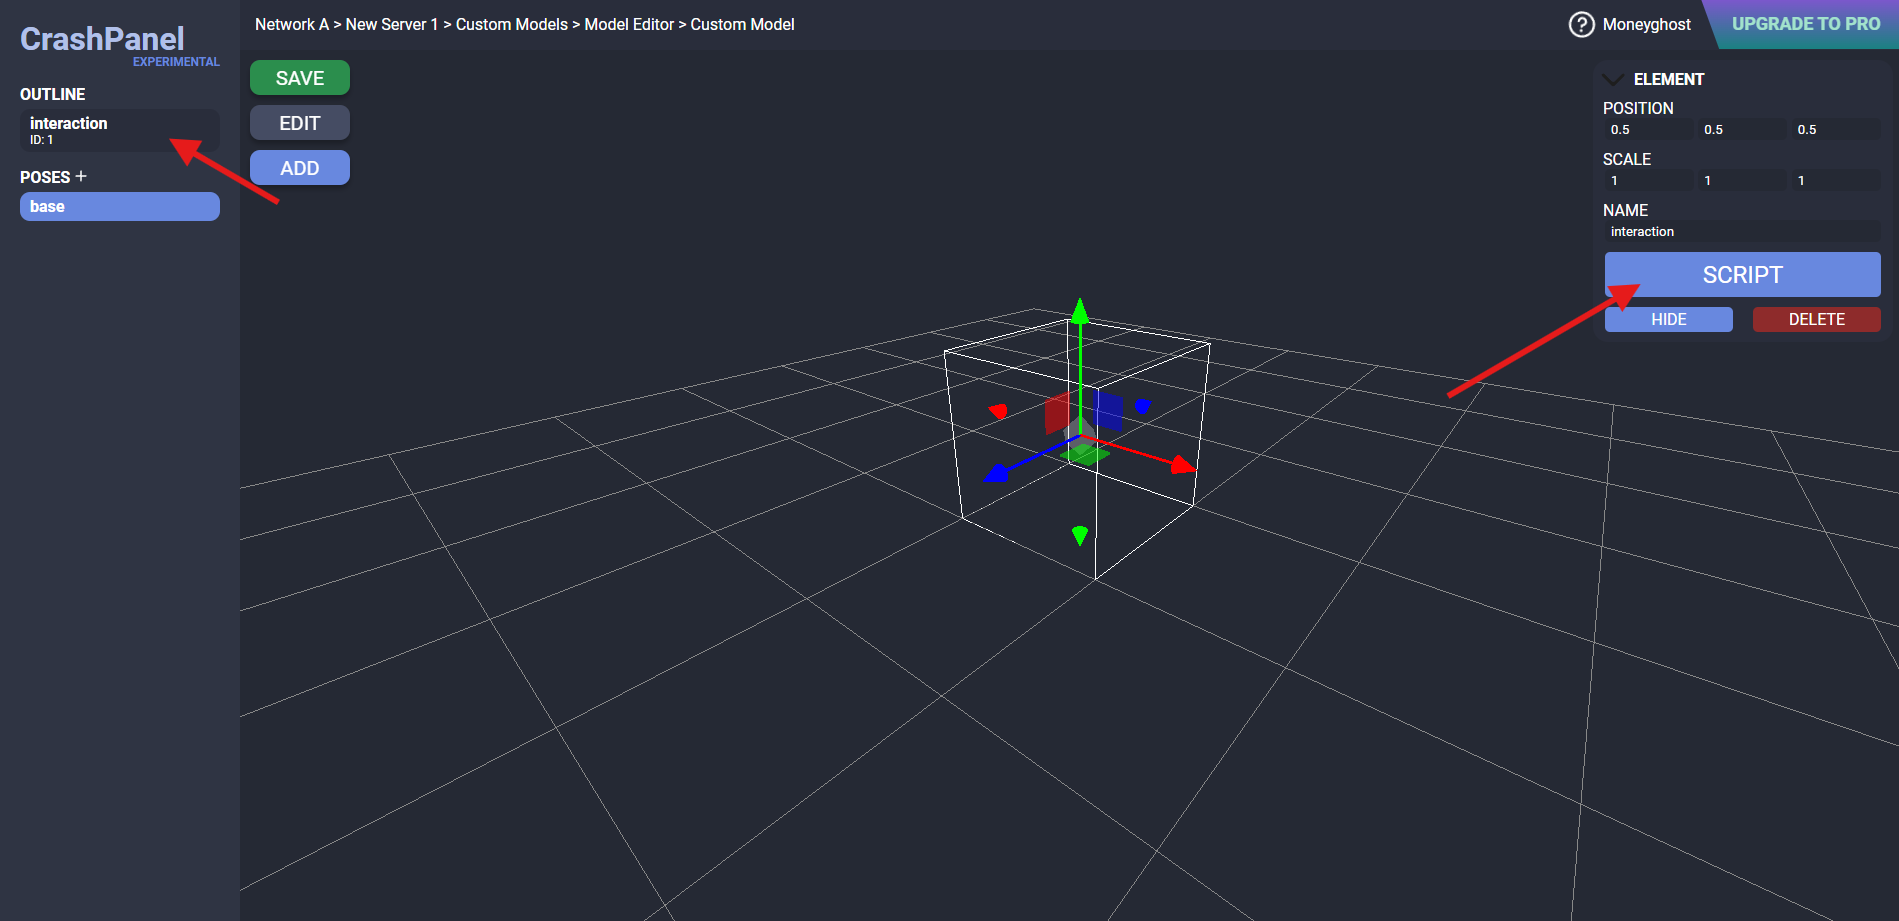
On the left, next to the word OUTLINE, click the plus sign to add a new element.
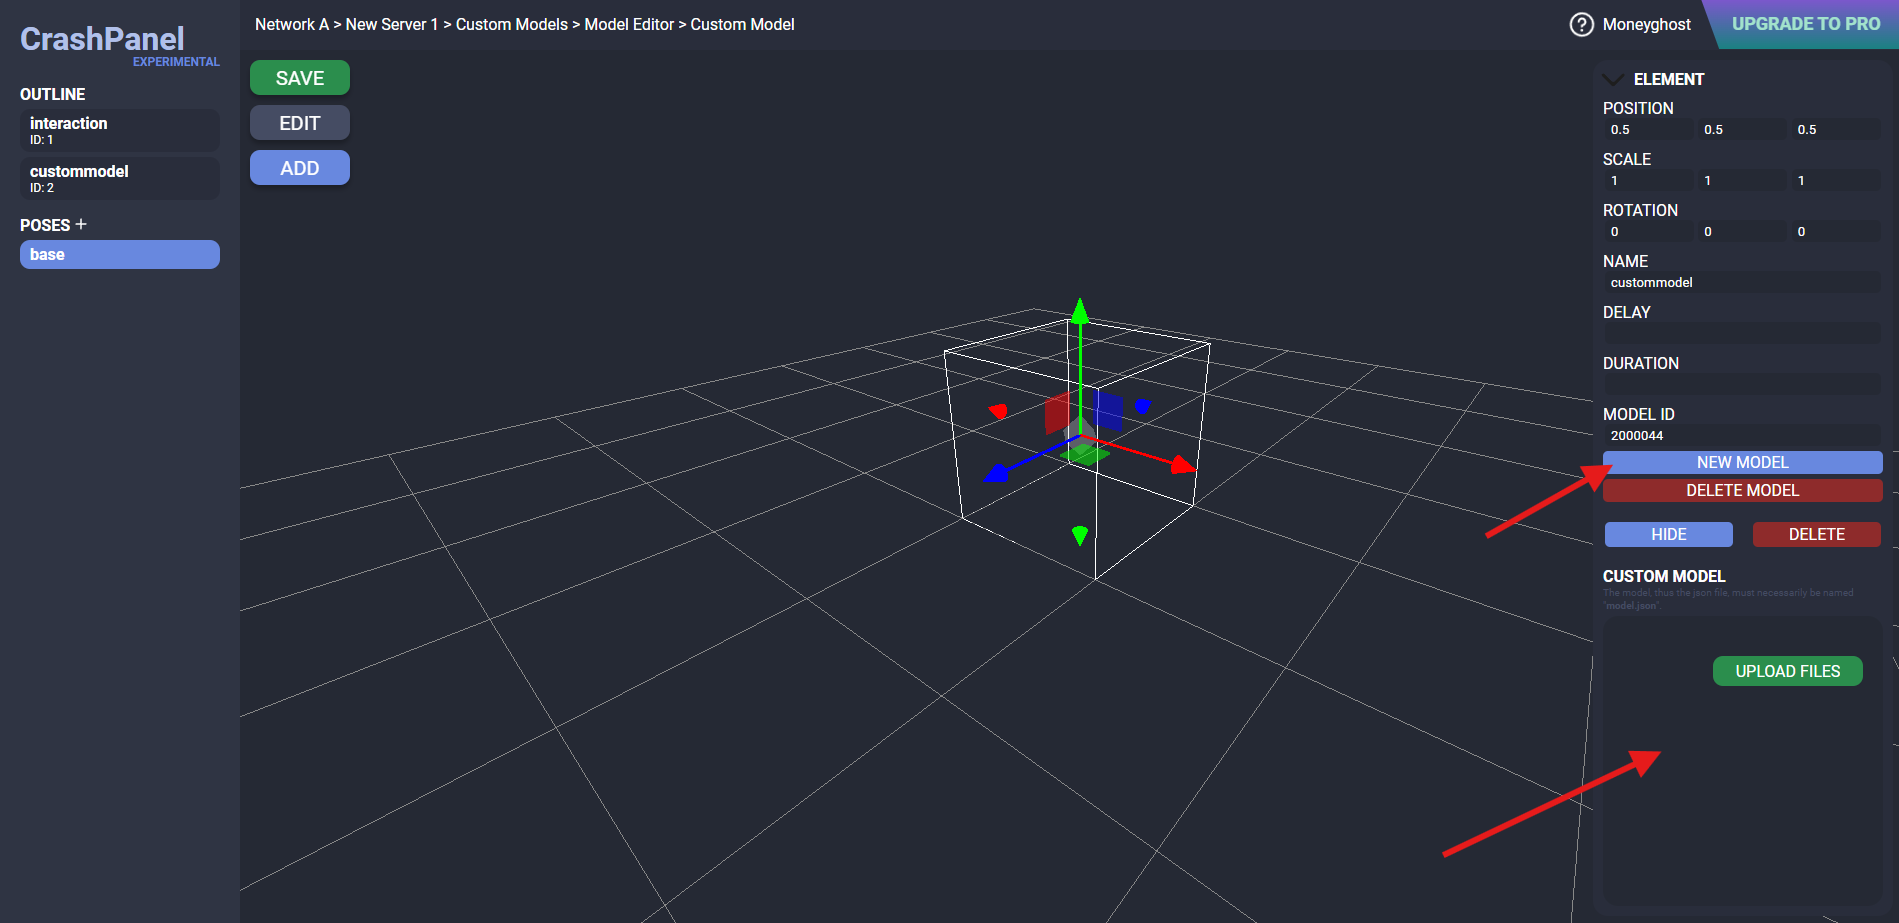
The MODEL element adds a model from a resource pack. Simply select the file type and drag it into the window.
IMPORTANT: JSON files refer to blocks or items for Java Edition, while BBMODEL files refer to entities for Bedrock Edition. The editor will convert the model from Bedrock Edition to Java Edition.
The GROUP element adds a group in which you can insert other elements. This is useful if you have many elements and want to move, rotate, or scale them all together.
The HITBOX element corresponds to a real hitbox in the game. On the right, in the properties, you will notice a Script ID field. This ID is used in the script (which you can access by clicking SCRIPT at the top right) in the Damage Action, Left Click, and Right Click nodes. So, for example, you could make it so that left-clicking on a part of your Custom Model executes the script.
NOTE: Since this is a real hitbox entity, transformations (especially rotation) are constrained.
The PARTICLE element adds a Custom Particle made in Particle Editor.
The SENSOR element marks a part of the model that you can use via script (as with the hitbox, i.e. with the Script ID) with the Enter Sensor and Exit Sensor nodes. So, for example, you could make it so that when a player enters your sensor, they are teleported somewhere.
The ITEM element is similar to MODEL, but here the model is an already defined item (Vanilla or CrashItems).
The HEAD element is similar to ITEM, but you can specify the texture URL.
The COLLISION element adds collisions to the Custom Model.
The TEXT element adds text to your Custom Model. The position of the words may differ from that in the game.
The LOCATOR element is used to mark a position and use it in the script with the Get Model Locator node, indicating the name of the locator. Make sure all your locators have different names.
Use the Custom Model
You can use the Custom Model in several ways: