Chapter 1 - Getting Started
Introduction
- Welcome to the CrashPanel guide! In this first chapter, we'll walk you through the essential steps to start using this powerful platform to monitor and manage your Minecraft server.
- Remember that you can access the guides by clicking the
button at the top.
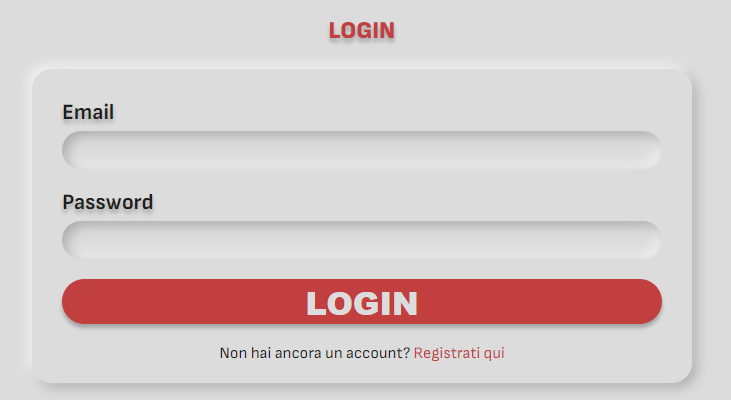
Sign Up and Log In
To use CrashPanel, you'll need an account. If you don't have one already, sign up for a free account on the official CrashPanel website.
Create a Network and Connect Your Server
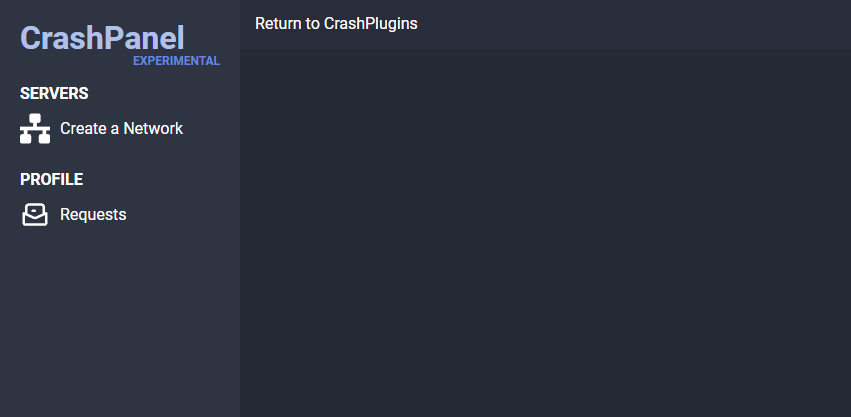
Create a Network:
- From the CrashPanel homepage, click the "Create Network" button. This will create a new environment to manage your servers.
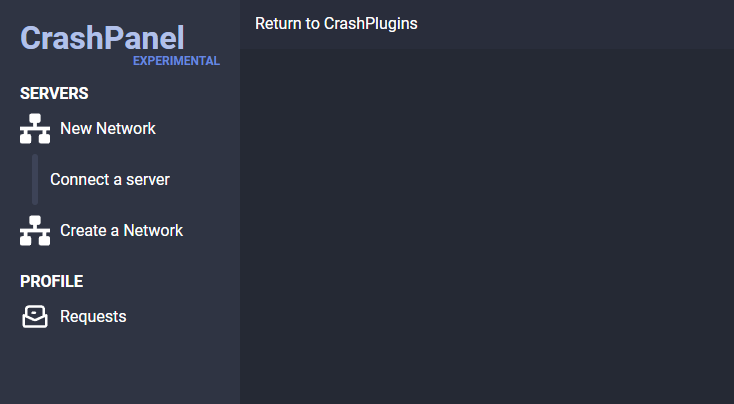
Connect a Server:
- Select the "Connect a server" option.
- Copy the command provided by CrashPanel. This command needs to be executed on your Minecraft server.
- Paste the command into your Minecraft server's console/chat and press Enter. Complete the Connection:
- Return to CrashPanel and click the "CONNECT" button. Your server will now be connected to the panel.


Customize Your Network and Server
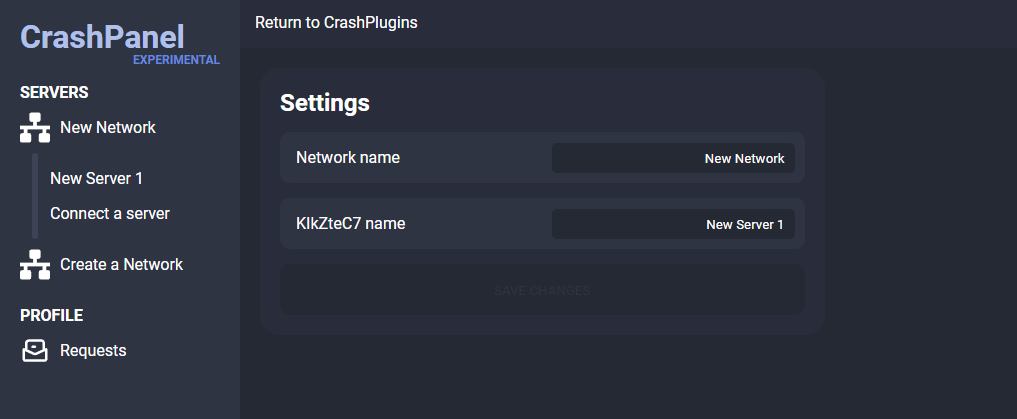
Renaming:
- To change the name of your network or server, click the CrashPanel logo in the top left corner to return to the homepage.
- Select the network you want to modify.
- Modify the network and server names in the appropriate fields.
Using the Console
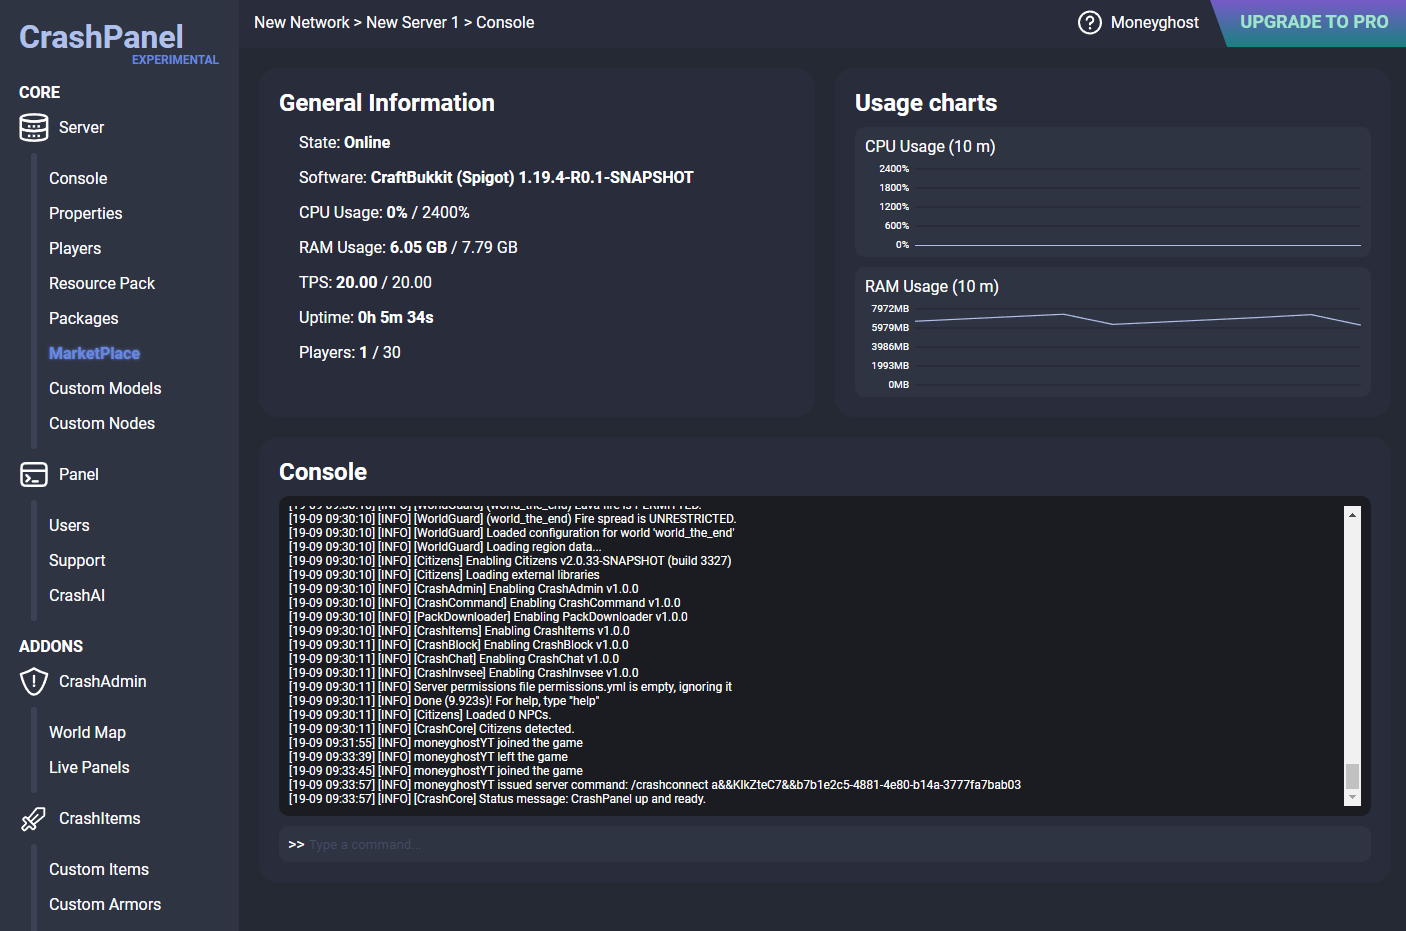
Accessing the Console:
- From the homepage, select the server you want to monitor.
- A new window will open with the server's console.
- You can use the console to execute commands directly on your server.
Conclusion
Congratulations! You've completed the initial steps to set up CrashPanel. In the next chapter, we'll delve into the platform's features in detail, such as resource monitoring, plugin management, and more.